
Introduction
A leather bag can look correct in a catalogue photograph and still fail in use. A zipper may catch at a curved opening, a shoulder-strap anchor may deform under load, color may vary across panels, or a carton may arrive crushed because the packing method was never tested. Effective quality control therefore begins before cutting and continues through shipment preparation.
Quick answer: a reliable leather bag quality-control plan should define the approved sample, material references, measurements and tolerances, critical functions, workmanship limits, packaging requirements, defect classifications and inspection timing. Final inspection is important, but it cannot replace incoming-material checks and in-process control.
This checklist is for importers, private-label brands, distributors and product teams. It can be adapted to totes, backpacks, shoulder bags, wallets, passport holders and other small leather goods. The exact tests and acceptance rules should always reflect the product, destination market and purchase agreement.
Why Final Inspection Alone Is Not Enough
Some defects can be repaired at the end of production; others cannot. Loose thread ends may be trimmed. Incorrect panel color, weak reinforcement or a mispositioned pocket may require remaking the item. If these problems are detected only after the order is packed, the schedule and commercial risk increase sharply.
A practical control plan uses four gates:
- Specification and sample approval: establish what “correct” means.
- Incoming-material inspection: confirm leather, lining, hardware and packaging before use.
- In-process inspection: check cutting, stitching, assembly and first finished units while correction is still possible.
- Pre-shipment inspection: verify finished quantity, workmanship, function, labeling and packing before release.
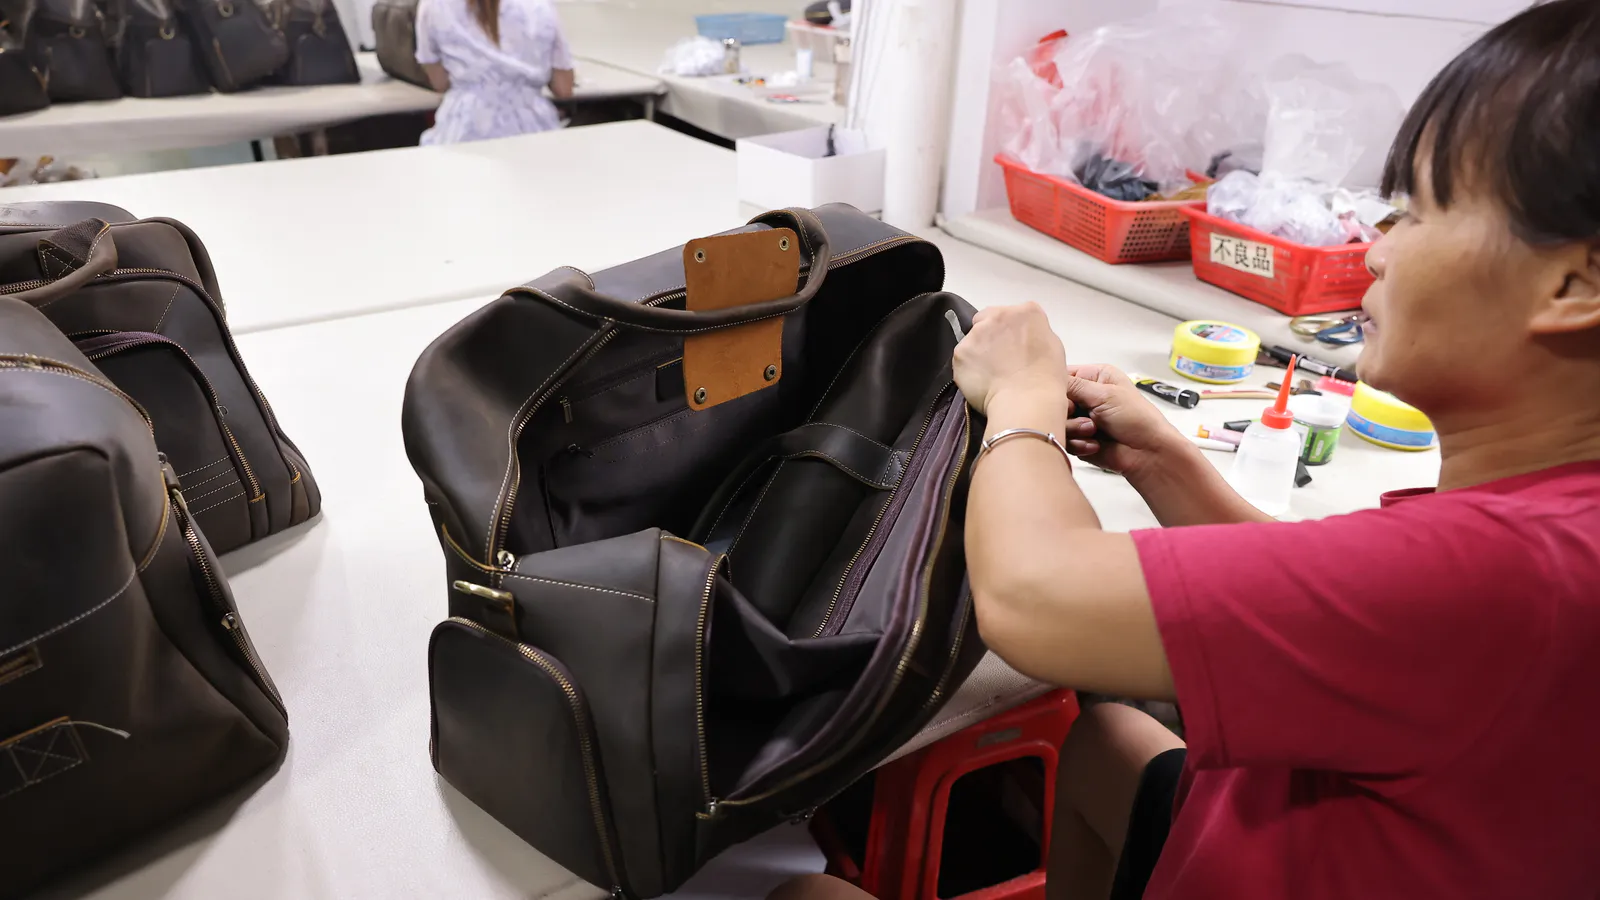
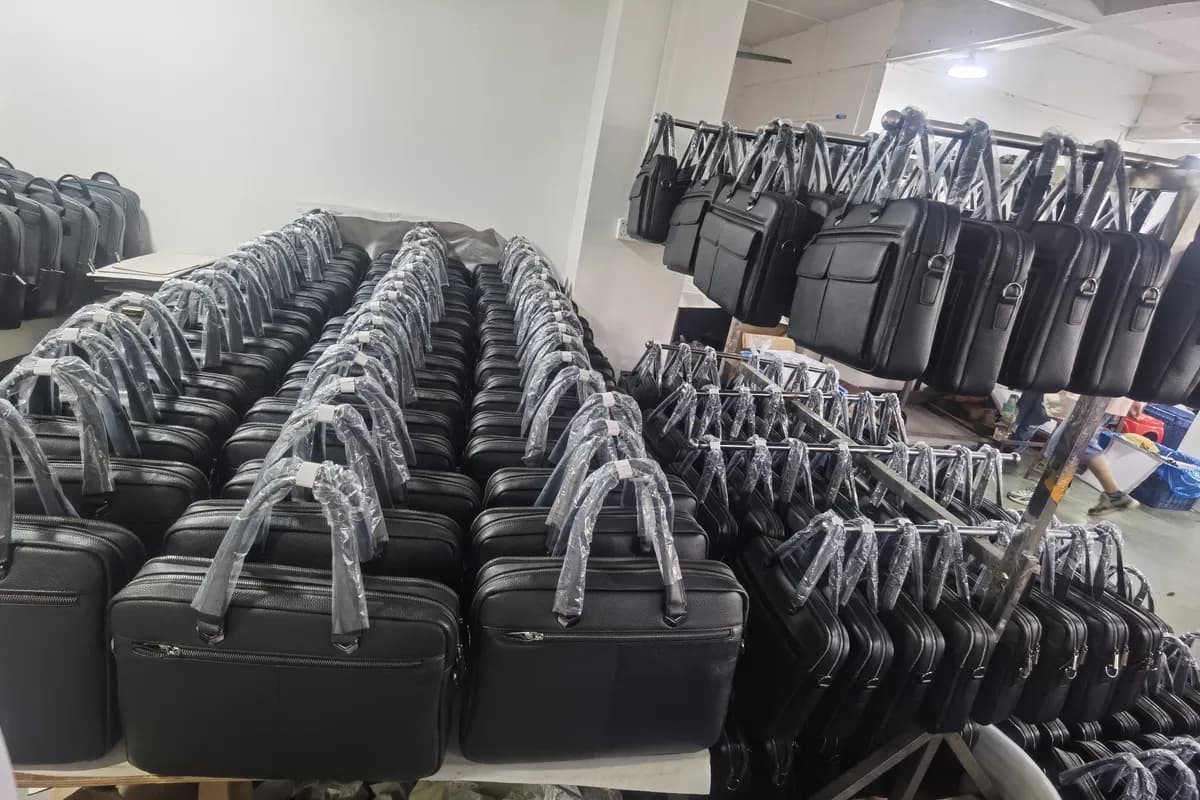
At Marrant, the visible factory workflow covers material inspection before cutting, leather cutting accuracy, stitching and structure, hardware and accessories, finished-product inspection, and final appearance and packing review. For an individual order, the buyer’s written specification and approved references should determine the exact checkpoints.
Step 1: Build the Quality File Before Production
The quality file should be usable by someone who did not attend the sales conversation. It needs specific, visual and measurable instructions.
Include:
- purchase order and product revision;
- identification of the approved sample;
- bill of materials and approved swatches;
- drawings with measurement points;
- tolerances for dimensions that affect fit or function;
- logo artwork, size, position and color;
- hardware finish and functional requirements;
- workmanship examples or boundary samples;
- packaging method, labels and carton marks;
- required tests or compliance documents;
- defect categories and release authority.
A photograph can clarify placement, but it should not be the only color standard. Camera settings, screens and lighting change color. For critical shades, use a controlled physical reference or another agreed color system and define how variation will be judged.
Step 2: Inspect Leather and Components Before Cutting
Leather identity and surface
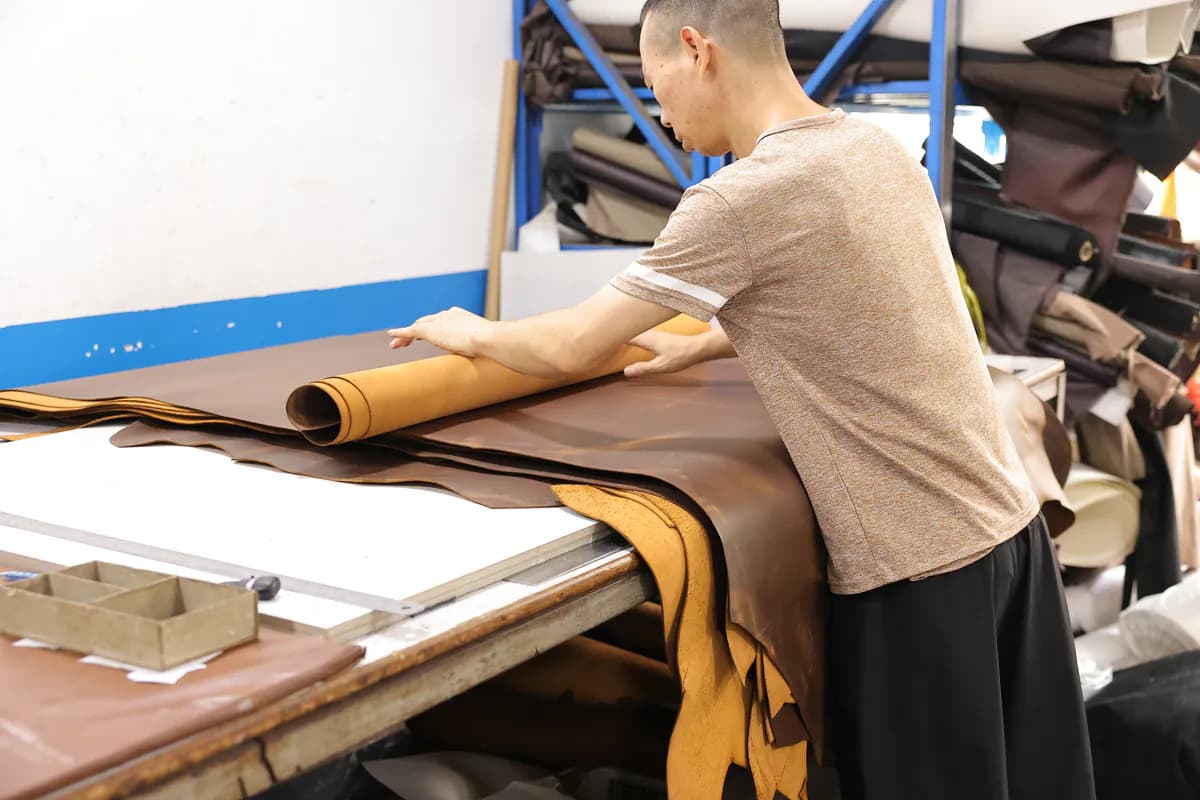
Confirm that the delivered leather matches the approved article, color, thickness range, temper and finish. Review grain character, gloss, pull-up behavior where relevant, odor and visible defects. Natural leather varies; the objective is not artificial uniformity but a documented acceptance range appropriate to the design.
Panel matching matters. A large tote front can make shade or grain differences more visible than small wallet components. The cutting plan should reserve compatible areas for paired or adjacent panels and account for natural marks that are acceptable only in less visible positions.
Thickness and hand feel
Measure thickness at multiple locations because hides are not perfectly uniform. A change in thickness can affect folding, edge finishing, stitch formation and finished weight. Hand feel should be assessed against the approved reference: firm, soft, waxy, dry or structured are useful directions only when attached to an actual sample.
Lining, reinforcement and adhesive
Check lining color, weave, weight and surface. Confirm reinforcement type and position, especially at handles, strap anchors, zipper ends, snaps and bag bases. Adhesive must suit the selected materials and should not bleed, stain or create hard ridges.
Hardware and zippers
Compare finish, color and shape across the batch. Operate zippers, locks, snaps, magnetic closures, buckles and swivel hooks. Look for sharp edges, plating marks, loose movement and inconsistent spring action. Where the product has a claimed load or cycle requirement, define and document the test method rather than relying on general terms such as “strong hardware.”
Step 3: Control Cutting, Skiving and Preparation
Cut components should be checked against pattern shape, orientation and quantity. Incorrect grain direction or mirror orientation can change appearance and assembly. Verify notch positions, hole placement and paired components before they move forward.
Skiving reduces thickness at folds and seams. Too little creates bulky edges; too much weakens the leather or causes a visible step. Inspect representative pieces and the first assembled unit, particularly at corners, card-slot tops, zipper facings and turned edges.
If the product uses edge paint, confirm edge preparation, layer build, drying and final appearance. Cracking, overflow, pinholes and color mismatch are easier to correct before full assembly.
Step 4: Inspect Stitching and Assembly In Process
Stitching
Check stitch line position, density, tension, backstitching and thread color. The standard should reflect the design: a rustic travel bag and a refined wallet may require different visual limits. Watch for skipped stitches, loose loops, puckering, untrimmed ends, needle marks and stitch lines that wander near corners.
Symmetry and alignment
Compare handles, strap anchors, pockets, logos, zipper openings and decorative panels from common reference points. A component can meet its own dimension but still look wrong if it is not centered or paired symmetrically.
Reinforcement
Verify that hidden backing is present before areas are closed. This is an ideal in-process checkpoint because reinforcement cannot be confirmed visually on a finished bag without records or destructive inspection.
First finished unit
Review the first complete units before the full run advances. Compare them side by side with the approved sample. Close any difference in construction, shape, color or workmanship and record the corrective action.
Step 5: Perform Finished-Product Function Checks
Inspection should reflect how the customer will use the product.
Dimensions and capacity
Measure agreed points using a consistent method and product condition. A soft bag can change shape depending on how it is placed. Define whether measurements are taken flat, filled or standing. For wallets and organizers, test actual cards, passports, notebooks or tools of the intended size.
Closure and access
Open and close every type of fastener in the inspection sample. Zippers should move through curves without catching the lining. Snaps and magnets should align without distorting the product. Pockets should allow intended contents to enter and leave without excessive force.
Loaded shape and carrying
Use a documented test load when performance risk justifies it. Observe handle comfort, strap adjustment, anchor deformation, base shape and closure behavior. The load, duration, movement and acceptance criteria must be agreed; an informal “pull test” is not a reproducible standard.
Surface and color transfer
Review the surface after ordinary handling. For waxed or pull-up leather, marks may be part of the intended character, but abnormal finish loss or color transfer is different. Any rub, moisture or chemical test should follow a defined method suitable for the leather and destination requirements.
Branding
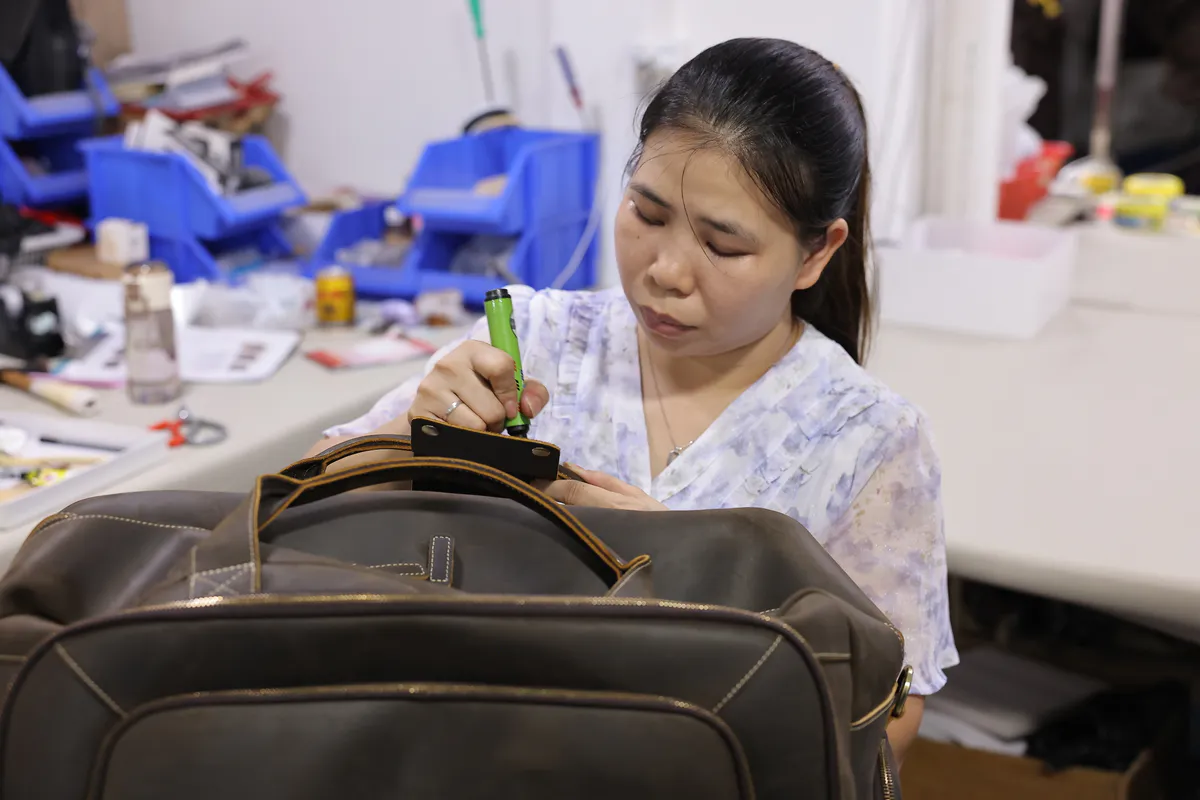
Check logo spelling, artwork version, position, size, depth, color and clarity. Inspect foil edges, printed adhesion, embossing definition and engraved hardware. Approve the logo on the actual production material because texture and finish affect the result.
Step 6: Classify Defects Before Using AQL
Acceptance sampling works only when the parties agree on what counts as a defect. AQL is a statistical decision framework for a lot; it is not a promise that the shipment contains no defects. The ISO 2859 family describes sampling systems for inspection by attributes, but the buyer and supplier still need a product-specific defect list and an agreed sampling plan.
Common categories are:
- Critical: a safety, legal or serious use issue that is not acceptable, such as a sharp exposed edge or a prohibited component where confirmed by applicable requirements.
- Major: a defect likely to cause return, functional failure or clear deviation from the approved product, such as a broken zipper, missing reinforcement, wrong logo or substantially incorrect measurement.
- Minor: a limited workmanship or appearance issue that does not materially affect intended use, such as a small removable mark or isolated thread end, subject to the approved limit.
Do not copy generic AQL values without evaluating risk. Inspection level, sample size and acceptance limits should be selected with a qualified inspector based on lot size, product history, customer expectations and consequences of failure. Also confirm whether the current applicable standard and buyer protocol use AQL or another approach.
Pre-Shipment Inspection Checklist
| Area | What to verify | Evidence to retain |
|---|---|---|
| Quantity | Finished and packed quantity against PO | Count summary and packing list |
| Product identity | Correct SKU, color, revision and assortment | Sampling record and photos |
| Appearance | Shape, shade matching, grain range, cleanliness | Overall and defect photos |
| Measurements | Agreed measurement points and tolerances | Measurement table |
| Workmanship | Stitching, edges, seams, lining and reinforcement evidence | Checklist and close-ups |
| Function | Zippers, snaps, magnets, straps, pockets and intended contents | Functional test record |
| Branding | Logo version, size, position, color and clarity | Approved artwork comparison |
| Packaging | Protection, labels, polybags/dust bags, cartons and marks | Packed-unit and carton photos |
| Documents | Test reports or declarations required by the order | Document register |
| Release | Pass, corrective action, reinspection or buyer waiver | Signed release record |
Inspection should occur when enough goods are finished and packed to evaluate the shipment, while time remains for corrective work if needed. The exact timing belongs in the production schedule.
Packaging and Shipment Inspection
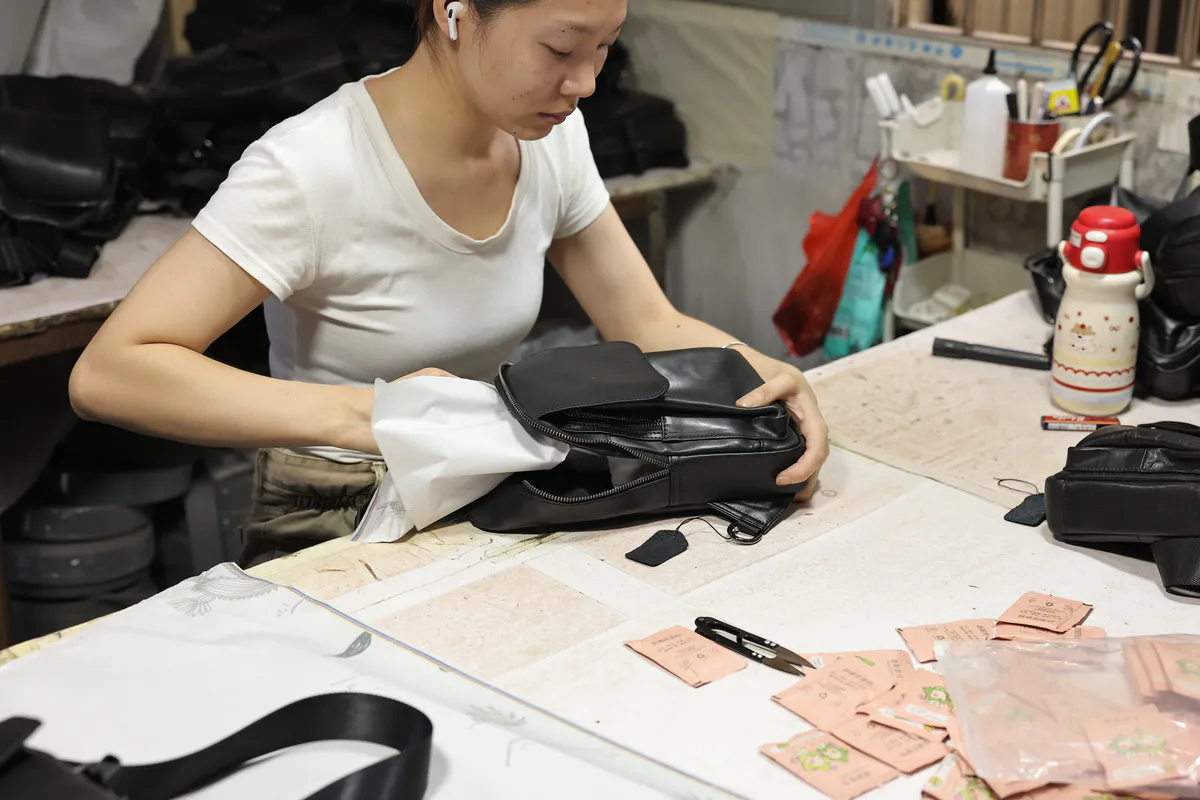
A good product can still arrive damaged. Confirm that hardware is wrapped where it might scratch leather, straps are positioned without permanent creasing, stuffing supports the shape and moisture-sensitive packaging is appropriate for the route and season.
Check carton dimensions, strength, sealing, gross and net weight records, shipping marks, SKU labels and assortment. Perform a packaging test when the product or distribution route creates risk. Test conditions should match the agreed logistics scenario; a generic drop test without defined height, orientation and pass criteria provides little useful evidence.
Retain representative shipment photos and, where commercially appropriate, a sealed production sample. These records help resolve later questions about color, packaging or workmanship.
How to Make QC More Efficient
Focus on product-specific risks
A passport wallet needs slot fit, closure and document-clearance checks. A travel tote needs handle, strap, zipper and loaded-shape checks. A folding catchall tray needs snap alignment and repeated folding review. One universal checklist will miss important risks.
Use one controlled comment log
Combine buyer, designer and factory comments into a single revision-controlled list. Multiple chat threads create conflicting instructions and make root-cause review difficult.
Photograph methods, not only defects
Show where a measurement begins and ends, how a product is loaded and how a logo is positioned. A repeatable method is more valuable than a close-up with no context.
Close corrective actions
Record the defect, affected quantity, immediate correction, root cause where needed and evidence of reinspection. Do not treat a promise to repair as a completed result.
Marrant’s Practical Quality-Control Advantage
Marrant’s advantage is the connection between development, production and inspection in one visible workflow. Buyers can discuss critical requirements before sampling, review materials and product construction in Guangzhou, and align the inspection points with the approved order standard. On the factory floor, checks cover material condition before cutting, cutting accuracy, stitching and structure, hardware and accessories, finished appearance and packing review.
For international buyers, that visibility supports clearer decisions: a concern can be linked to a specific production stage, sample comments can be carried into bulk requirements, and shipment release can be based on agreed evidence. Marrant does not apply one generic quality promise to every product; the team confirms the relevant checkpoints against the bag structure, materials, customer requirements and destination market.
FAQ
Q1. What is the most important leather bag quality check?
There is no single check. The highest-risk points are usually material identity, structural reinforcement, closure function, workmanship at stress areas, branding accuracy and shipment packing. Prioritize them according to the product’s intended use.
Q2. Should every bag be inspected?
Some checks may be performed on every unit during production, while final acceptance may use statistical sampling. The decision depends on risk, order size, process capability and commercial agreement. Critical characteristics may require tighter control.
Q3. Is AQL the same as defect percentage?
No. AQL is used to index an acceptance-sampling plan; it should not be interpreted as permission to ship a fixed percentage of defective goods. Use the applicable sampling standard and a qualified inspection plan.
Q4. When should pre-shipment inspection happen?
Schedule it when production is substantially complete and enough goods are packed to assess the actual shipment, but before final release to the forwarder. Define the threshold and correction window in advance.
Q5. What should a buyer send to the inspector?
Send the purchase order, approved sample identification, specification, measurement method, material and color references, artwork, packaging requirements, defect list, sampling plan and any required tests.
Q6. Can photographs replace an approved sample?
Photographs are useful evidence for construction and placement, but they may not accurately represent color, texture, hand feel or three-dimensional shape. Use physical references where those qualities are important.
Conclusion
Leather bag quality is controlled through a chain of decisions, not a single inspection event. Define the product clearly, check inputs before cutting, inspect hidden construction while it remains visible, test finished functions in realistic conditions and verify the packed lot before shipment.
The most effective checklist is neither the longest nor the strictest. It is the one tied to the actual product, customer requirements and purchase agreement—and used consistently by the people who make, inspect and approve the order.